Why should I setup Sender Authentication and how is that done?
Sender Authentication is an important aspect of email marketing that helps businesses prove the authenticity and security of their messages to mailbox providers like Microsoft, Hotmail, and Gmail.
By doing so, businesses can increase their chances of having their messages delivered to recipients' inboxes instead of being filtered into spam folders.
However, it's important to note that implementing Sender Authentication is not always a straightforward solution for achieving higher deliverability rates. In some cases, it can actually have the opposite effect. For example, if you send fewer than 5000 emails per month and have an open rate of less than 20%, it may be more beneficial to forego setting up a verified domain altogether.
Furthermore, it's important to keep in mind that switching to a verified domain can result in a temporary drop in deliverability.
This is because mailbox providers need to adjust their systems to recognize your domain as an authenticated sender. Typically, this dip in deliverability lasts for about 2 weeks before returning to normal.
If you do decide to verify your sending domain in order to gain Sender Authentication, there are a few key steps you should follow.
- From your email service provider you'll need to obtain the necessary DNS records (pieces of information that provide instructions to domain name servers (DNS) on how to manage and route traffic to a specific domain or subdomain). This may include records such as DKIM and SPF.
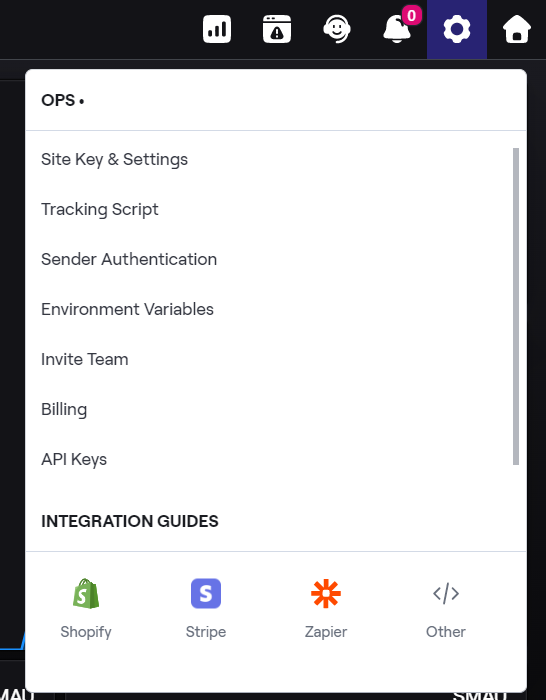
- Go to your Bento account page
- Click the gear icon in the right top corner
- Find the option saying Sender Authentication
- Go to the section Create records and add them to your DNS
- To configure your domain's DNS records, you can add the relevant records to your DNS records manager. If you're not familiar with this process, you can refer to the "How to configure your records" section below for more detailed information.
- Once you have successfully added the records, you should click on the "Validate" button to ensure that everything is set up correctly. After the validation process, you will receive a message indicating whether your sending domain is verified or not.
- It's worth noting that some hosting providers may require truncated versions of the host values instead of the full version. For instance, instead of "ckespa.yourdomain.com," you may only need to use "ckespa." Similarly, "cka._domainkey.yourdomain.com" may be truncated to "cka._domainkey." To help with this, we've provided instructions for the most commonly used hosting providers at the end of this article.
- If you're still experiencing issues after trying both the full and truncated versions of the host values, we recommend seeking assistance from your hosting support or an IT professional. It's important to ensure that your DNS records are set up correctly in order to avoid any issues with email delivery or other related services.

How to configure your records
The next step is to configure your records with your DNS.
Generally, the process of configuring your DNS records is done through your domain registrar or hosting provider. Popular hosting providers such as HostGator, GoDaddy and Bluehost typically have their own unique instructions and processes for DNS configuration. If you run into any difficulties during this process, it's recommended that you reach out to your host support team for assistance.
Keep in mind that the instructions for configuring your DNS records may vary based on the provider you're using, and it's important to follow the specific instructions provided to you by your hosting provider or registrar. This will ensure that your DNS records are properly configured and functioning as intended.
In summary, the process of configuring your DNS records may seem daunting at first, but it's an important step in ensuring that your domain is properly functioning and accessible to users. By following the instructions provided by your hosting provider or registrar, you can successfully configure your DNS records and avoid any potential issues down the road.
Subdomains
To register a subdomain either change your site URL (under settings) or contact support@bentonow.com.