
Setup Cloudflare DNS for Bento
Add Bento's required DNS records in Cloudflare to authenticate your domain for email sending. One Cloudflare-specific detail matters here: all records must be set to "DNS only" (gray cloud), not proxied.
Prerequisites
Before starting, ensure you have:
- Access to your Cloudflare account
- Your domain added to Cloudflare as a hosted zone
- Administrator permissions to modify DNS records
Required DNS Records
You'll need to add 6 DNS records to your domain to begin sending emails with Bento:
Required DNS Records
example              CNAME  example.test.sendgrid.net
bbb._domainkey       CNAME  bbb.domainkey.example.test.sendgrid.net
bbb2._domainkey      CNAME  bbb2.domainkey.example.test.sendgrid.net
bento                CNAME  ga.bentoemail.com
bento3180._domainkey TXT    k=rsa; p=example...
_dmarc               TXT    v=DMARC1; p=quarantine; adkim=s
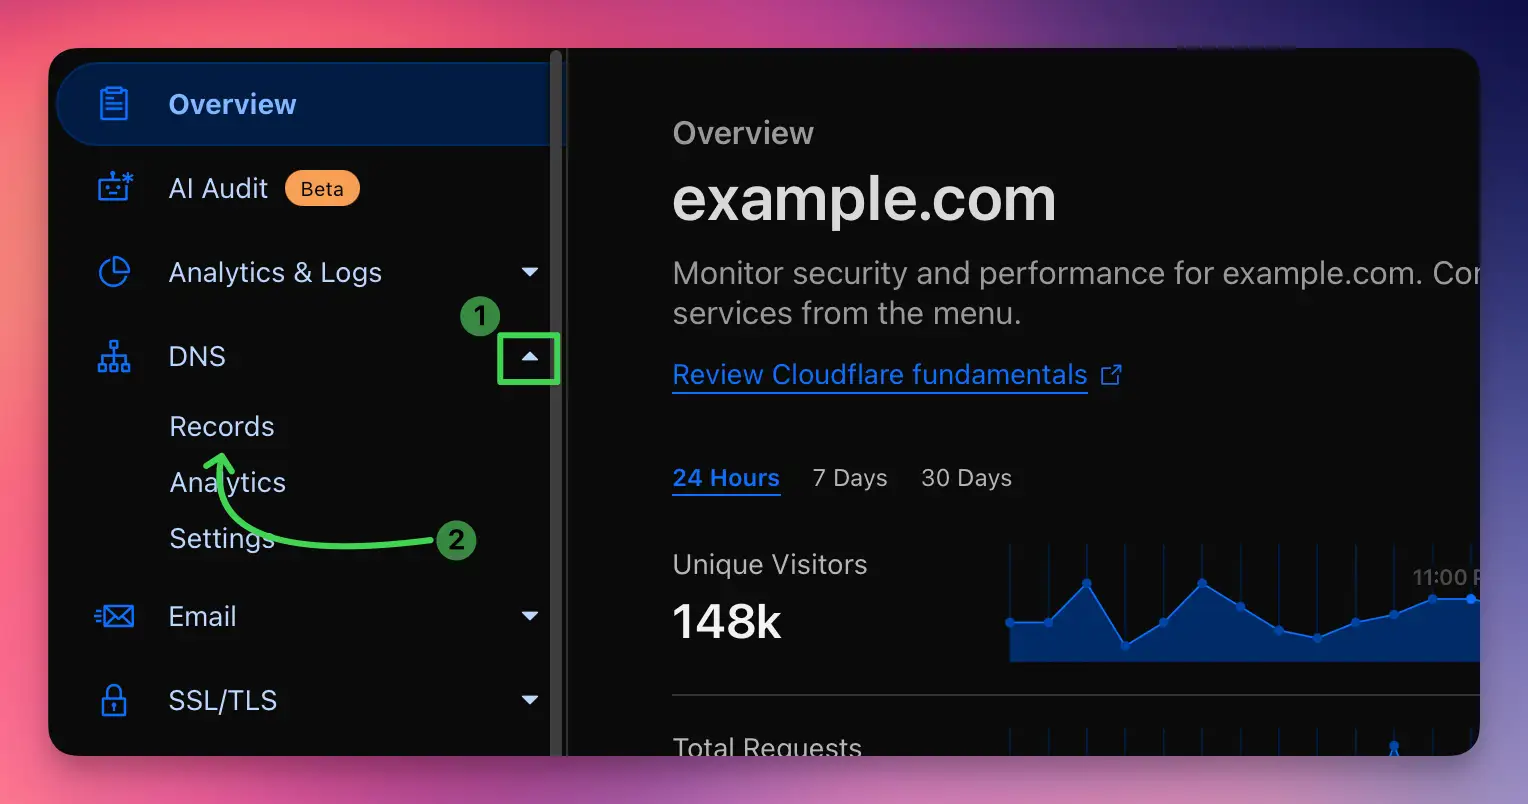
System > DNS. The values above are examples - use the actual values provided in your Bento account.- Log into your Cloudflare account at cloudflare.com
- Click on your domain from the list of sites
- Navigate to the DNS section in the sidebar
- You'll see the DNS management interface with your existing records
You'll need to add 4 CNAME records. Here's how to add the first one:
- Click the Add record button
- Select CNAME from the Type dropdown
- In the Name field, enter:
example - In the Target field, enter:
example.test.sendgrid.net - Set TTL to Auto (recommended)
- Ensure the Proxy status is set to DNS only (gray cloud)
- Click Save
Repeat this process for the remaining CNAME records for example:
bbb._domainkey→bbb.domainkey.example.test.sendgrid.netbbb2._domainkey→bbb2.domainkey.example.test.sendgrid.netbento→ga.bentoemail.com
System > DNS in the menu.
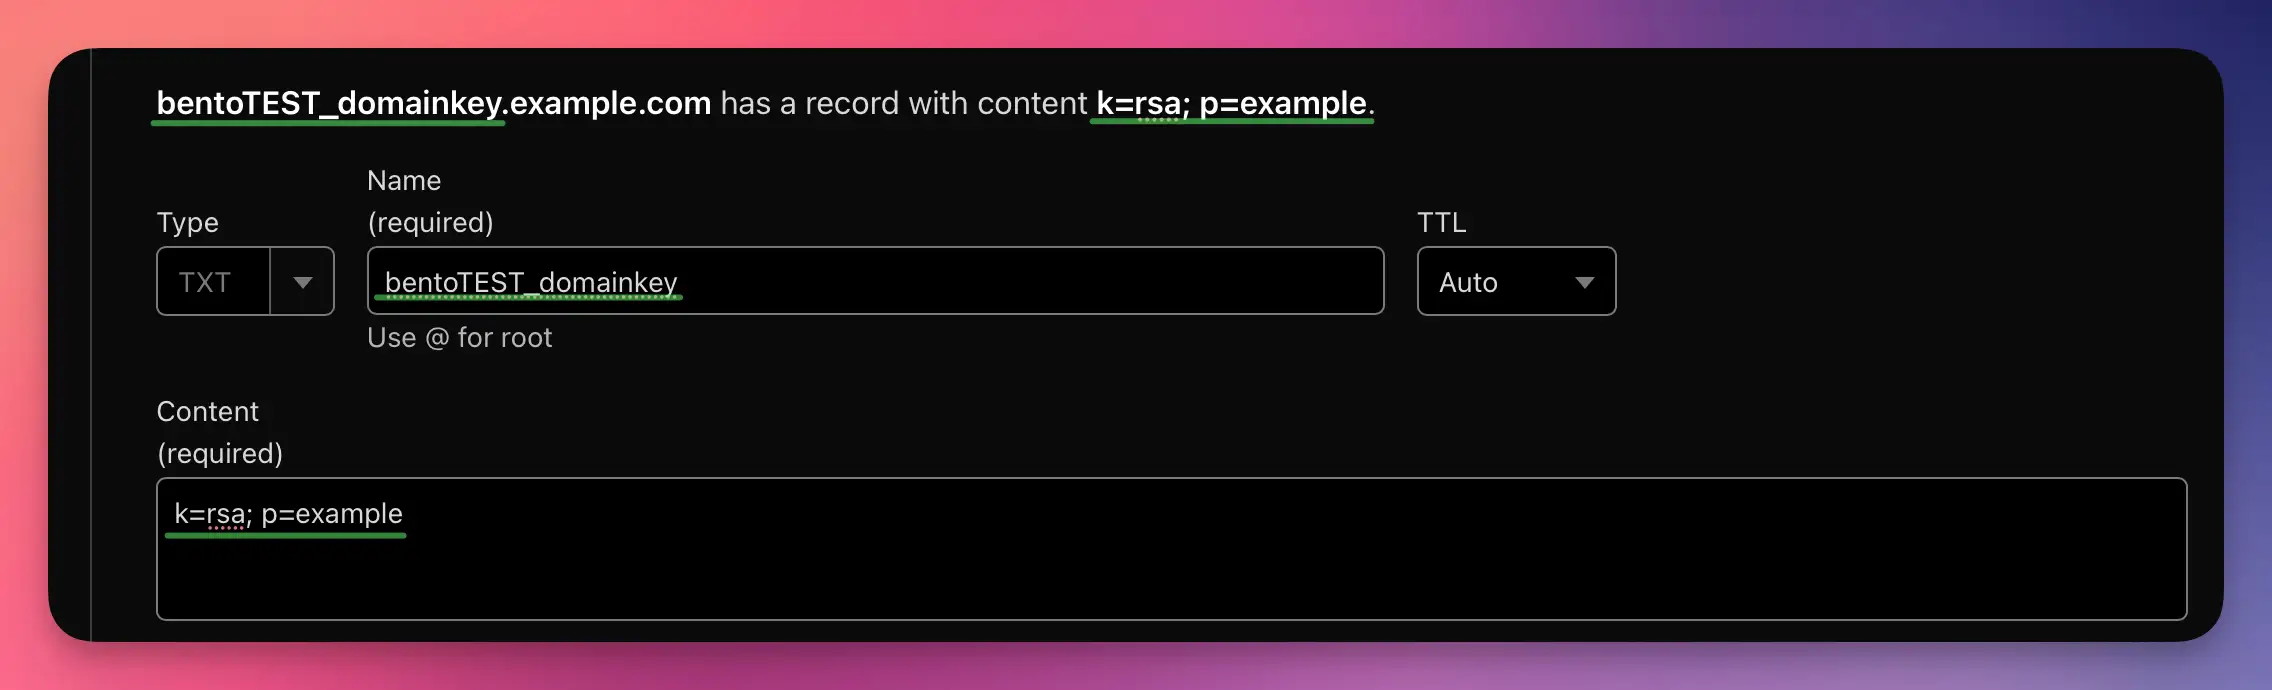
Next, add 2 TXT records. Start with the DKIM record:
- Click the Add record button
- Select TXT from the Type dropdown
- In the Name field, enter:
bentoEXAMPLE._domainkey - In the Content field, enter the full DKIM key (starts with k=rsa; p=...)
- Set TTL to Auto
- Click Save
Then add the DMARC record:
- Click Add record again
- Select TXT from the Type dropdown
- In the Name field, enter:
_dmarc - In the Content field, enter:
v=DMARC1; p=quarantine; adkim=s - Set TTL to Auto
- Click Save
After adding all 6 DNS records, you need to verify them in Bento:
- Return to Bento and navigate to
System > DNS - Wait 5-10 minutes for DNS propagation (can take up to 48 hours in some cases)
- Click the Check button next to each DNS record
- Properly configured records will show a green checkmark and blue text
- If any records fail verification, double-check the values and TTL settings
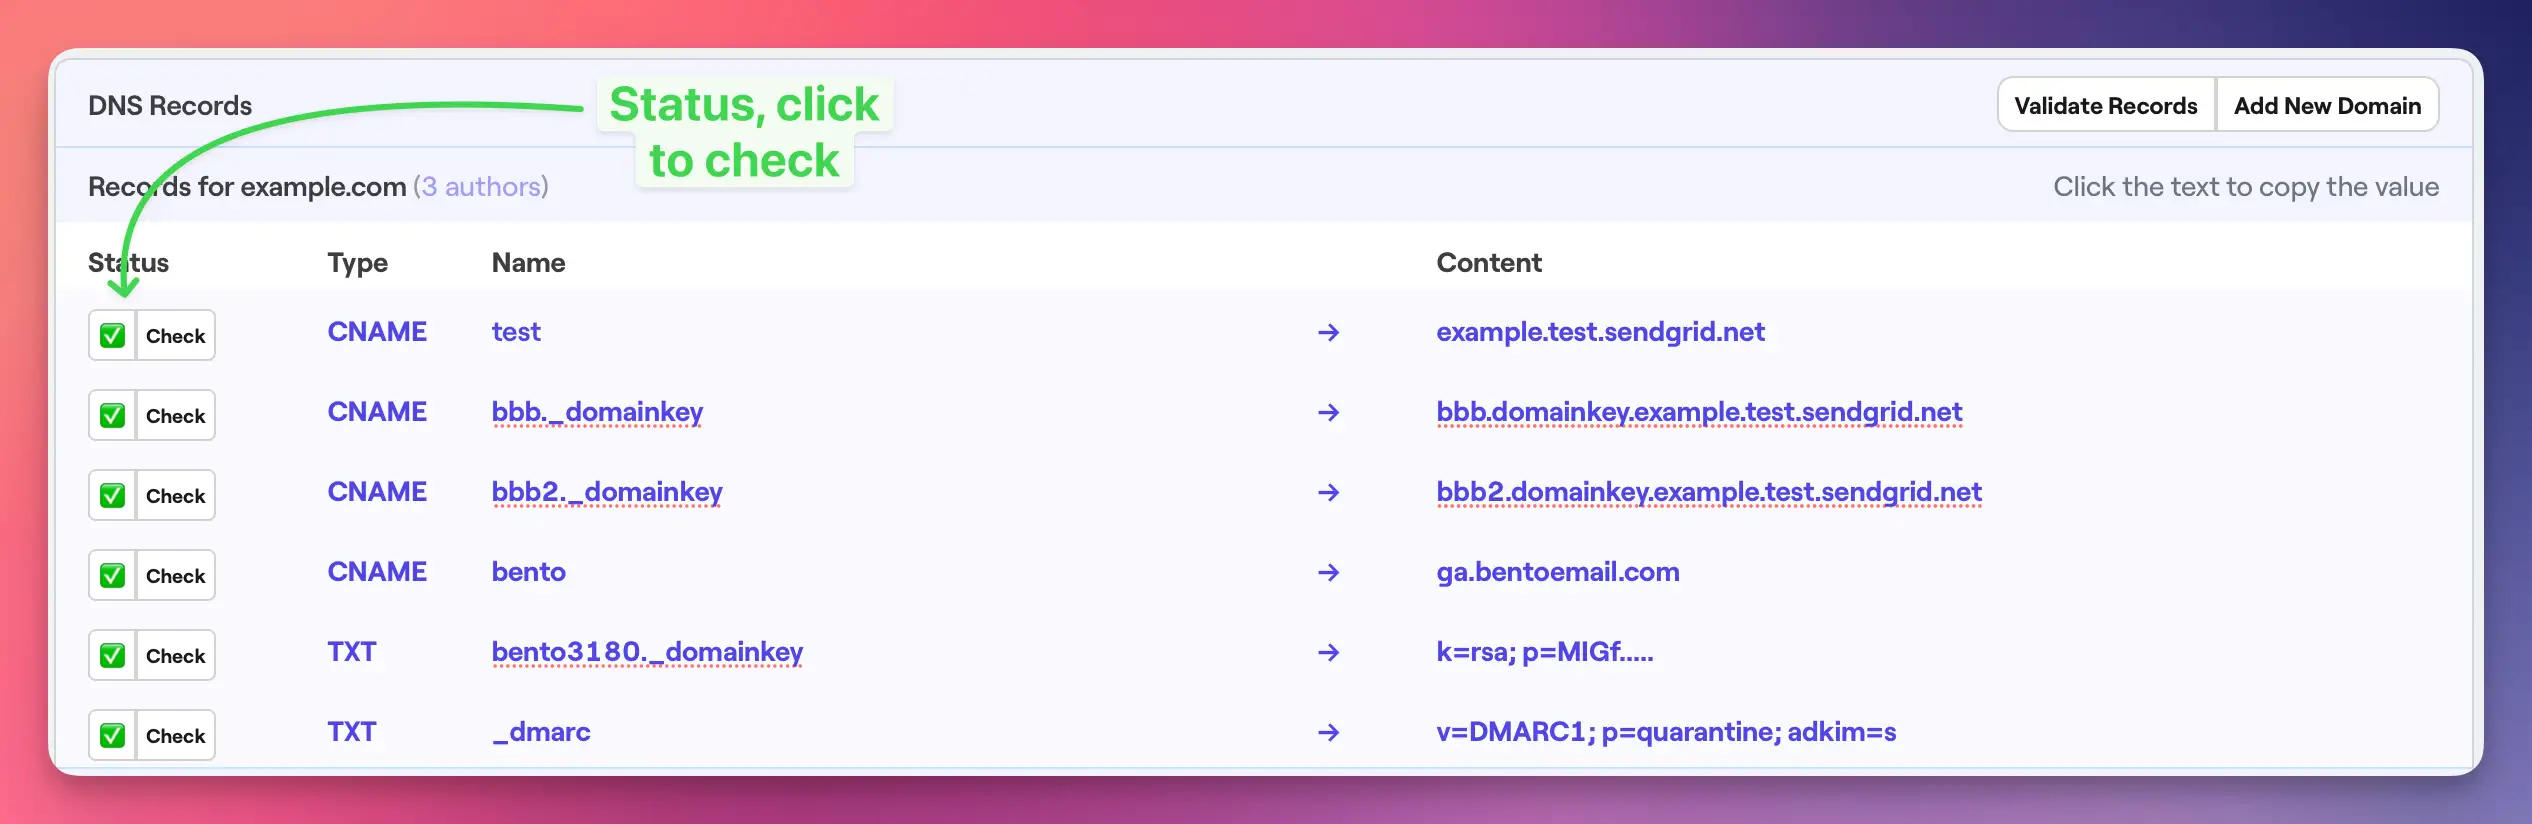
Once complete, your Cloudflare DNS records should be as follows:
All 6 records should be visible in your DNS management interface with:
- 4 CNAME records with "DNS only" status (gray cloud)
- 2 TXT records
- All records showing proper target/content values
- TTL set to Auto for all records
Troubleshooting
If you encounter issues:
- Records not verifying: Double-check that all values match exactly what's shown in your Bento account
- Proxy status: Ensure CNAME records are set to "DNS only" (gray cloud), not proxied (orange cloud)
- DNS propagation: Wait up to 48 hours for global DNS propagation
- TTL settings: Use "Auto" TTL for all records
Next Steps
Once all DNS records are verified in Bento:
- Your domain is now authenticated for email sending
- You can start sending emails with improved deliverability
- Monitor your email performance in the Bento dashboard
If you have any questions, feel free to ask in the Bento Discord!